압축파일 생성
java에서도 파일을 압축 하고 압축을 해제 할 수 있습니다. 심지어 java.util.zip 에 기본적으로 포함 되어 있기 때문에 외부 라이브러리를 사용하지 않고도 손쉽게 구현 할 수 있습니다.
아주 간단한 예제를 만들어서 실습 해 보겠습니다.
사전준비
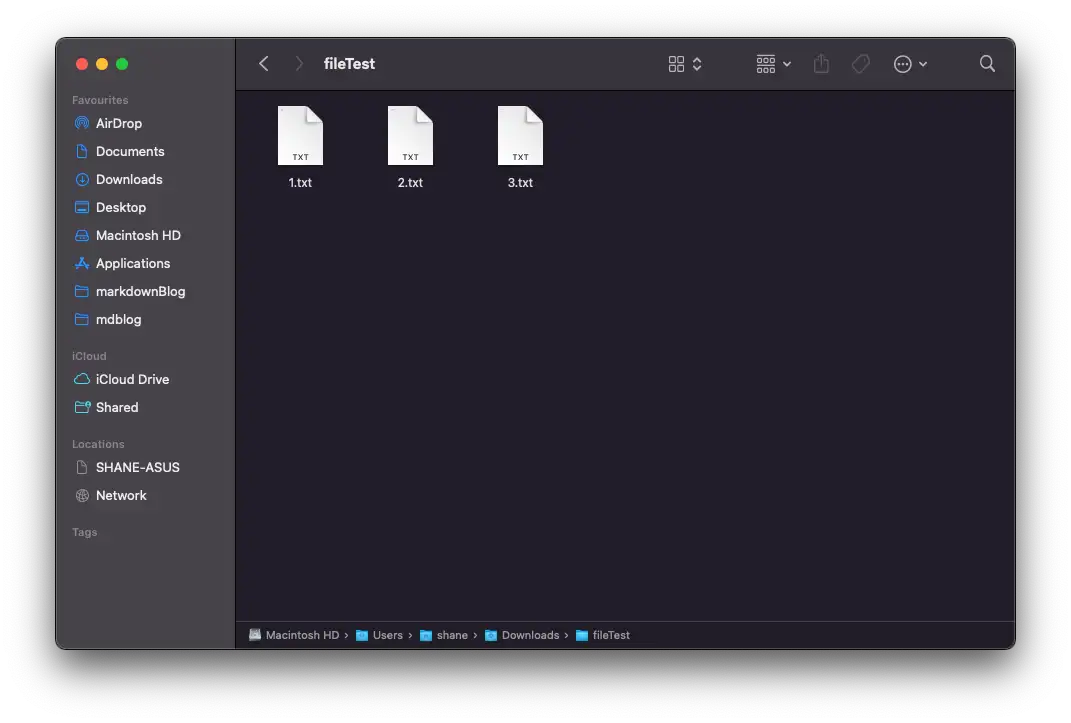
사실 준비라고 할 것도 없고, 그냥 압축 할 파일을 몇개 준비시켜 둡니다.
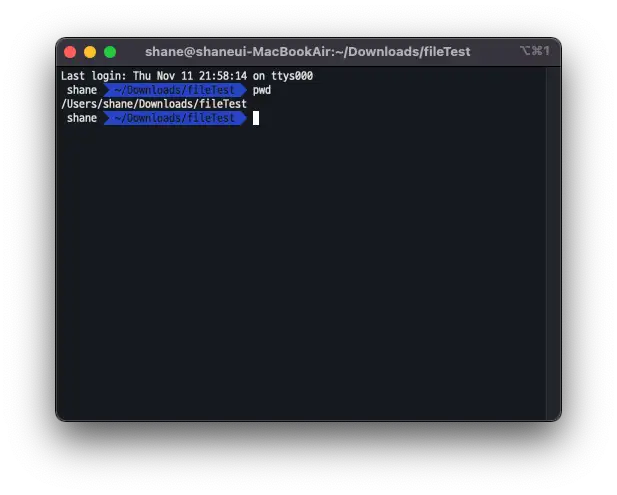
Terminal 을 켜서 파일들의 경로도 미리 확인을 해 둡니다.
코드작성
세개의 파일을 토대로 File 객체를 생성 한 후, ArrayList에 담아서 순회하고, 압축파일을 생성하는 코드를 작성 해 보았습니다.
딱히 어려운 내용이 없으니 코드를 보면 내용들이 이해 되실거에요.
package com.tistory.shanepark.file.zip;

import java.io.*;
import java.util.ArrayList;
import java.util.List;
import java.util.zip.ZipEntry;
import java.util.zip.ZipOutputStream;

public class CreateZipFile {
    final static String folder = "/Users/shane/Downloads/fileTest";

    public static void main(String[] args) throws IOException {
        File file1 = new File(folder, "1.txt");
        File file2 = new File(folder, "2.txt");
        File file3 = new File(folder, "3.txt");

        List<File> files = new ArrayList<>();
        files.add(file1);
        files.add(file2);
        files.add(file3);

        File zipFile = new File(folder, "압축파일.zip");
        byte[] buf = new byte[4096];

        try (ZipOutputStream out = new ZipOutputStream(new FileOutputStream(zipFile))) {

            for (File file : files) {
                try (FileInputStream in = new FileInputStream(file)) {
                    ZipEntry ze = new ZipEntry(file.getName());
                    out.putNextEntry(ze);

                    int len;
                    while ((len = in.read(buf)) > 0) {
                        out.write(buf, 0, len);
                    }

                    out.closeEntry();
                }

            }
        }
        System.out.println("압축 파일 생성 성공");

    }
}
이제 코드를 실행 합니다.
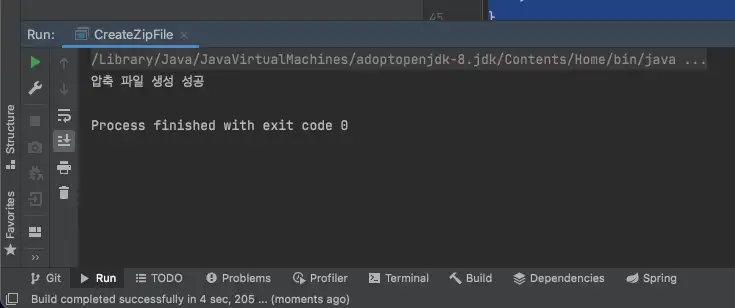
생성 성공
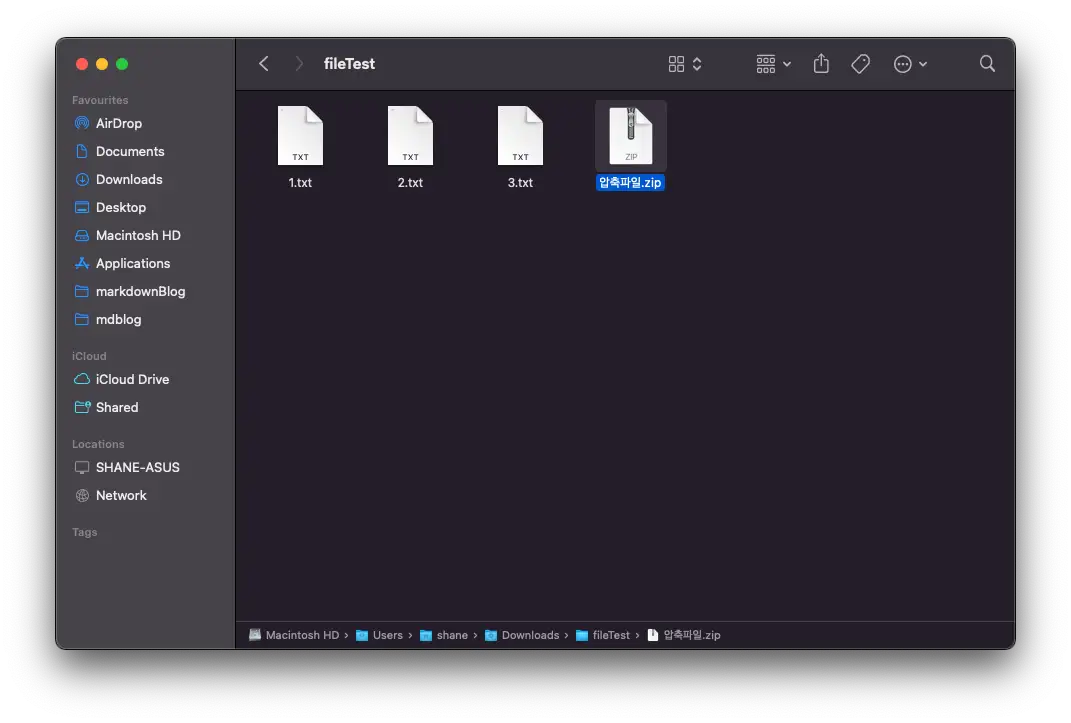
해당 폴더를 확인해보면 압축파일.zip 파일이 생성 되었으며, 세개의 텍스트 파일이 잘 들어가 있습니다.
기존 압축 파일에 파일 추가
압축파일이 이미 있을때, 해당 압축파일에 새로운 파일을 추가 할 수 있을까요?
사실 그 기능을 default로 제공하지는 않습니다. 하지만 이 역시 어렵지 않게 구현 할 수 있는데요, 미리 압축해 둔 파일의 InputStream을 ZipInputStream으로 열어서 모두 읽어 ZipEntry들을 추가 한 후, 새로 추가할 파일의 InputStream을 마저 읽으며 ZipEntry를 추가 하면 됩니다.
사전준비
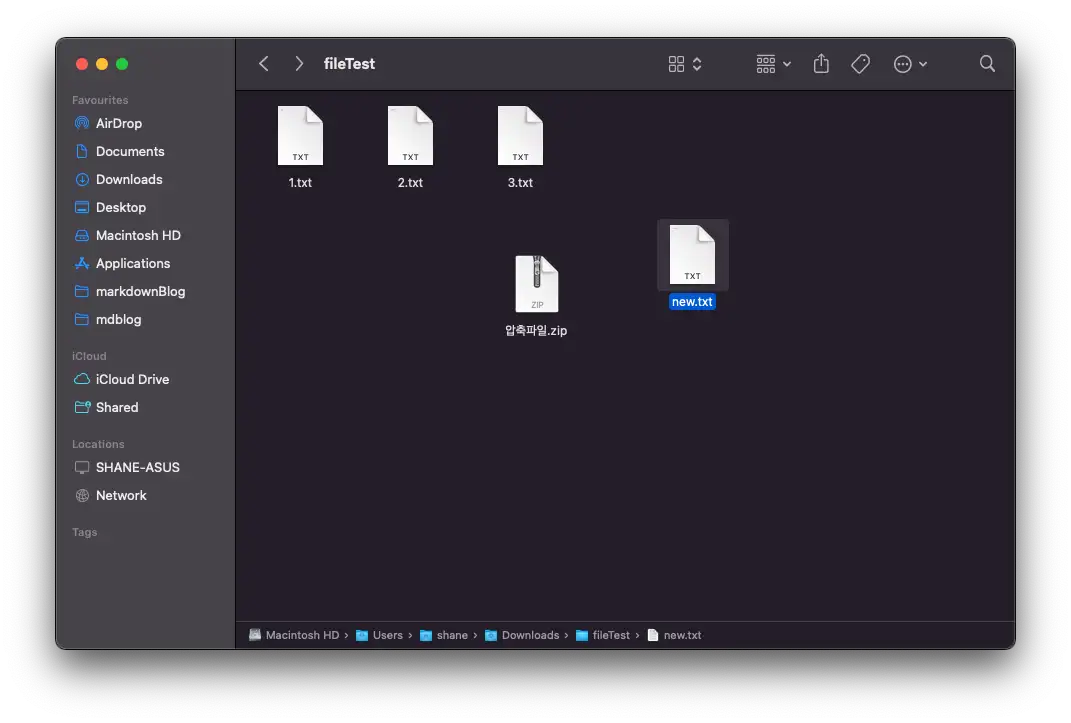
기존 압축 파일에 추가할 새로운 new.txt 파일을 만들어 줍니다.
코드작성
코드가 아까보다는 조금 더 복잡합니다.
그래도 코드의 양이 아주 많지는 않고, 아까의 코드에서 길이만 조금 길어졌을 뿐 입니다.
package com.tistory.shanepark.file.zip;

import java.io.*;
import java.util.zip.ZipEntry;
import java.util.zip.ZipInputStream;
import java.util.zip.ZipOutputStream;

public class AddFileToZip {
    final static String folder = "/Users/shane/Downloads/fileTest";

    public static void main(String[] args) {
        File file = new File(folder, "new.txt");
        File zipFile = new File(folder, "압축파일.zip");
        byte[] buf = new byte[4096];

        File tempFile = null;
        try {
            tempFile = File.createTempFile(zipFile.getName(), null);
        } catch (IOException e) {
            System.err.println("임시파일 생성 실패");
        }
        tempFile.delete();

        boolean renameOK = zipFile.renameTo(tempFile);
        if (!renameOK) {
            throw new RuntimeException("couldn't rename the file :" + zipFile.getAbsolutePath());
        }

        try (ZipOutputStream out = new ZipOutputStream(new FileOutputStream(zipFile));
             ZipInputStream zin = new ZipInputStream(new FileInputStream(tempFile));
             InputStream in = new FileInputStream(file);
        ) {

            ZipEntry entry = zin.getNextEntry();
            while (entry != null) {
                String name = entry.getName();
                boolean notInFiles = true;
                if (file.getName().equals(name)) {
                    notInFiles = false;
                    System.err.println("이미 파일이 있음.");
                    // 파일이 있더라도 기존에 있던 파일은 그대로 새로운 zip 파일에 가져 가야함.
                    // 절대 return; 하지 말것. 그러면 빈 압축파일이 되며 기존 파일이 다 제거됨.
                    break;
                }
                if (notInFiles) {
                    out.putNextEntry(new ZipEntry(name));
                    int len;
                    while ((len = zin.read(buf)) > 0) {
                        out.write(buf, 0, len);
                    }
                }
                entry = zin.getNextEntry();
            }

            out.putNextEntry(new ZipEntry(file.getName()));
            int len;
            while ((len = in.read(buf)) > 0) {
                out.write(buf, 0, len);
            }
            System.out.println("파일 생성 완료");

        } catch (IOException e) {
            System.out.println("파일 생성 실패");
        } finally {
            if (tempFile.delete()) {
                System.out.println("임시 파일 제거 완료");
            }
        }

    }
}
임시 파일 생성하는 부분이 중요한데요, 코드를 보시면 아시겠지만
- 압축 파일과 같은 이름의 임시 파일을 생성
- 임시파일이 존재하지 않다는걸 확실하게 하기 위해 .delete() 호출
- 기존의 압축 파일을 임시파일로 보낸다. (이 과정을 확실하게 하기 위해 delete를 호출 했습니다.)
- 임시파일(기존의 압축 파일)과 새로 추가할 파일을 읽어
압축파일.zip에 새로운 압축파일을 생성.
이러한 로직으로 기존의 압축 파일에 새로운 파일을 추가하는 파일을 생성 합니다.
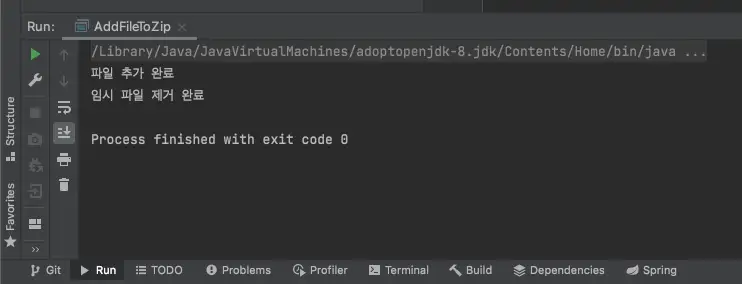
실행을 하니 오류 없이 잘 추가가 됩니다.
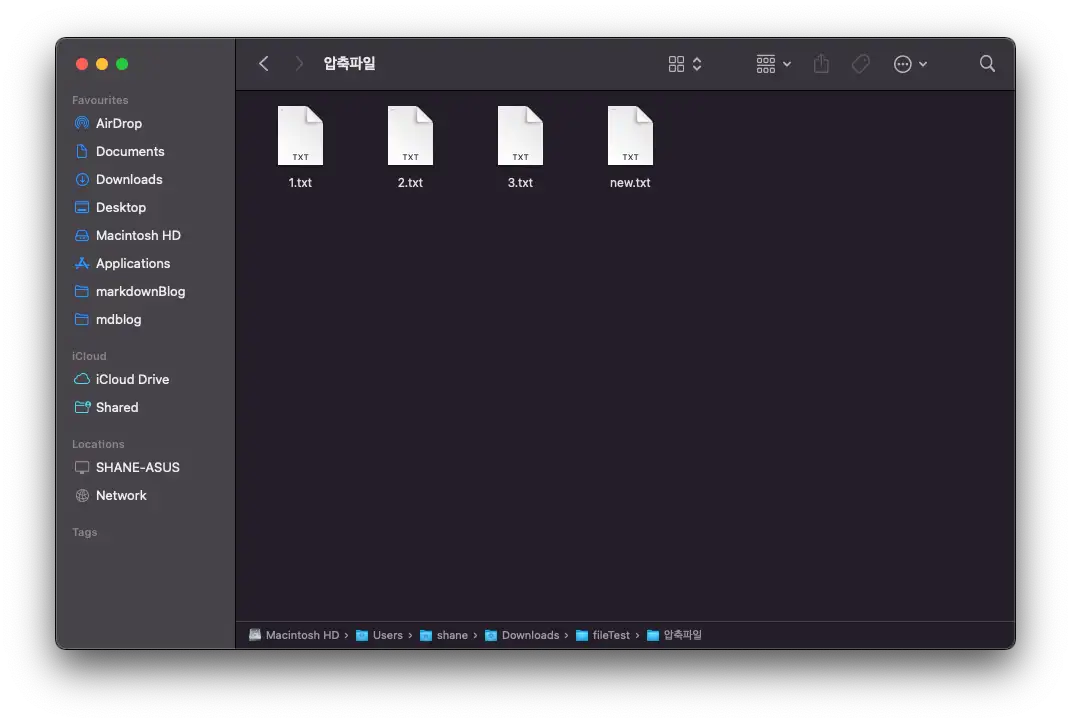
새로 생긴 압축 파일에는 기존의 파일들에 new.txt 파일이 추가 된 것이 확인 됩니다.
디렉터리를 포함한 압축 파일 생성
지금처럼 파일 하나하나로 FileInputStream을 여는 방법은 폴더에서는 작동이 되지 않습니다. 폴더를 대상으로는 파일 인풋스트림을 열 수 없기 때문인데요.
사실 ZIP 파일을 생성 할 때는 실제로 파일 내에 해당하는 폴더들이 생성되는건 아니고, 각각의 경로가 각자 스스로 저장된 위치를 나타냅니다. 예를 들어서 mydir이라는 폴더에 file1.txt와 file2.txt 파일이 있다고 할때, 하나의 ZIP 파일에는 두개의 엔트리 mydir/file1.txt mydir/file2.txt 가 저장 될 뿐이지 폴더가 포함되는건 아닙니다.
위의 코드를 조금 응용 하면 손쉽게 이 경우의 코드도 작성 할 수 있습니다.
파일 구조는 이렇게 준비 해 보았습니다.
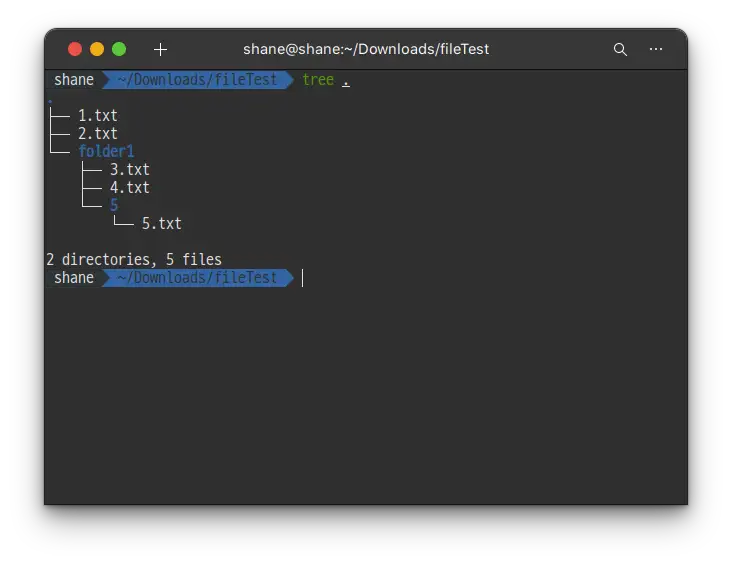
새로 작성한 코드는 아래와 같습니다.
CreateZipFileWithFoldersAndFiles.java
package com.tistory.shanepark.file.zip;

import java.io.File;
import java.io.FileInputStream;
import java.io.FileOutputStream;
import java.io.IOException;
import java.util.ArrayList;
import java.util.List;
import java.util.zip.ZipEntry;
import java.util.zip.ZipOutputStream;

public class CreateZipFileWithFoldersAndFiles {
    final static String folder = System.getProperty("user.home") + "/Downloads/fileTest";

    public static void main(String[] args) throws IOException {
        File file1 = new File(folder, "1.txt");
        File file2 = new File(folder, "2.txt");
        File file3 = new File(folder, "folder1");

        List<File> files = new ArrayList<>();
        files.add(file1);
        files.add(file2);
        files.add(file3);

        File zipFile = new File(folder, "압축파일.zip");

        try (ZipOutputStream out = new ZipOutputStream(new FileOutputStream(zipFile))) {
            for (File file : files) {
                addFile(out, file, "");
            }
        }
        System.out.println("압축 파일 생성 성공");
    }

    private static void addFile(ZipOutputStream out, File file, String path) throws IOException {
        if (file.isDirectory()) {
            for (File f : file.listFiles()) {
                addFile(out, f, path + file.getName() + File.separator);
            }
            return;
        }
        try (FileInputStream in = new FileInputStream(file)) {
            ZipEntry ze = new ZipEntry(path + file.getName());
            out.putNextEntry(ze);

            int len;
            byte[] buf = new byte[4096];
            while ((len = in.read(buf)) > 0) {
                out.write(buf, 0, len);
            }

            out.closeEntry();
        }
    }
}
이제 코드를 실행해보면 의도한 대로 잘 압축이 되어있는걸 확인 할 수 있습니다.
이상입니다.
'Programming > Java' 카테고리의 다른 글
| CSV 포맷 소개 및 자바로 CSV 파일 작성 하기 (0) | 2021.11.17 |
|---|---|
| 자바에서 YAML 파일 작성하기 (0) | 2021.11.16 |
| JAVA에서 비동기 HTTP 요청시 멀티파트 파일 전송 (ContentTooLongException: Content length is unknown) (0) | 2021.11.05 |
| JAVA) proxy 사용해 연결 (0) | 2021.10.29 |
| JAVA) String을 LocalDateTime 으로 변환하기 (0) | 2021.10.22 |