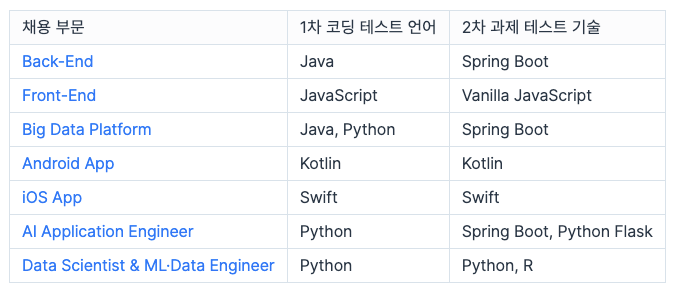
프로그래머스를 통해 Naver Webtoon 코딩테스트에 참가를 해 보았습니다. 아직 1차 테스트를 합격 한 건 아니지만, 2차 과제 테스트 기술인 Spring Boot를 한번도 해본 적이 없어서 이번에 한번 시도해보려고 합니다.
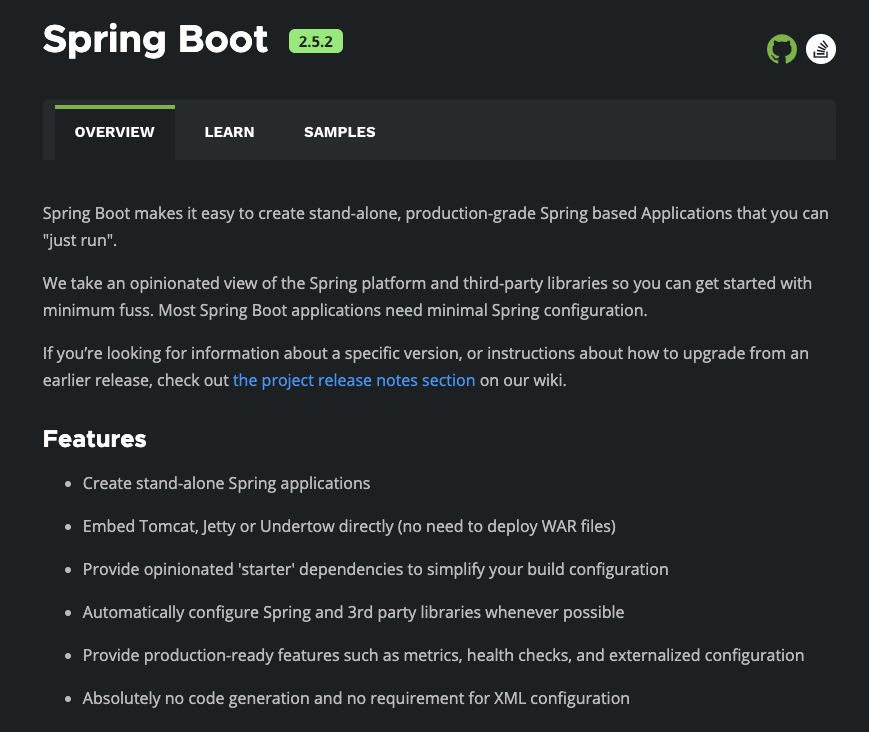
)https://spring.io/projects/spring-boot
Spring Boot는 Spring framework를 좀 더 쉽고 간단하게 사용하게 해주는 툴 이라고 이해하면 될 듯 합니다.
위의 소개를 요약하자면, Spring boot는 spring 기반의 stand alone 어플리케이션을 '바로 실행' 할 수 있는 상태로 쉽게 만들어 준다고 합니다. war 파일을 deploy 할 필요도 없이, Tomcat 등이 내포 되어 있다고 하구요. xml 설정을 할 필요도 없다고 하네요.

Spring.io에 있는 Spring Initializr 를 이용해서 쉽게 시작 할 수 있습니다.
IntelliJ IDEA를 활용해도 정말 쉽게 시작할 수 있고, 인텔리제이가 스프링을 정말 잘 지원해주는 IDE라고 해서 사용 해 보고 싶었는데요. 최종 프로젝트하는 동안 혹사로 뻗어서 병원에 가버린 제 맥북이 아직 돌아오지 못한 관계로 일단 사용하던 이클립스로 진행을 해 보려고 합니다.
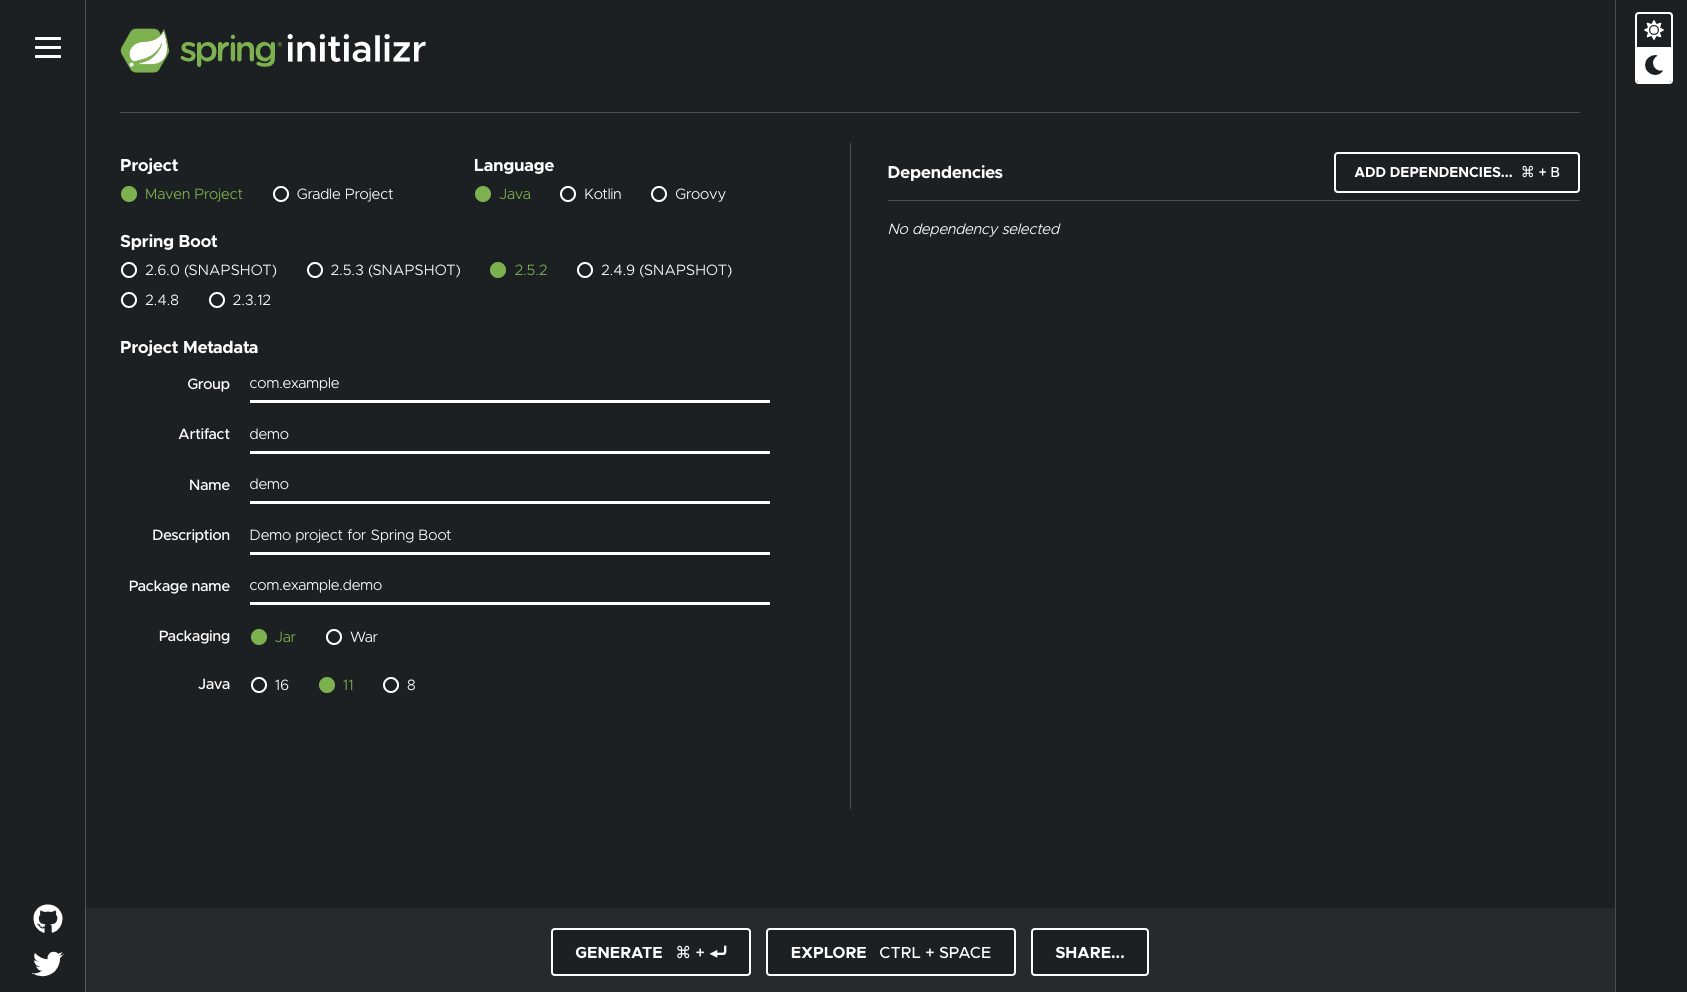
시작을 하려니 몇가지 선택을 해야 합니다.
Maven, Java, 2.52 등 기본 선택된 값들로 생성을 해 보도록 하겠습니다.

토시 하나 변경하지 않고 GENERATE를 눌러 보았습니다.

바로 demo.zip 파일이 다운로드가 됩니다.
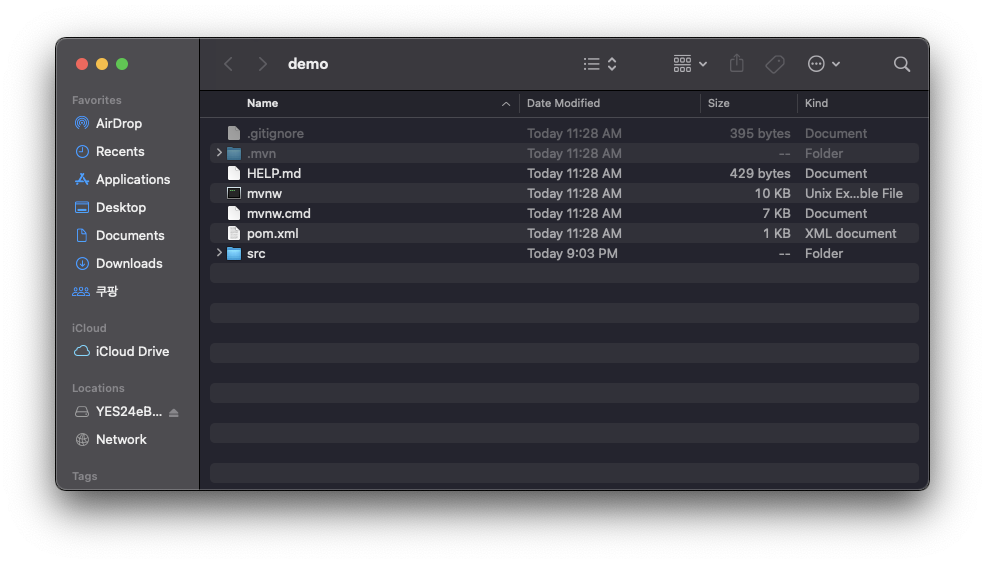
open 해보니 심지어 .gitignore 파일 까지 만들어주네요.
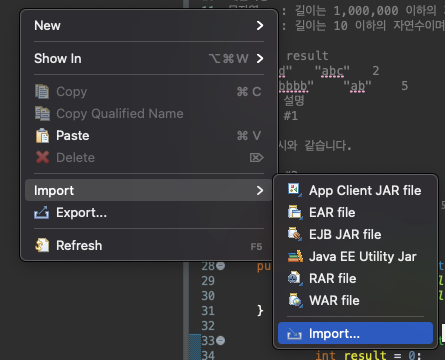
import 해보겠습니다 !
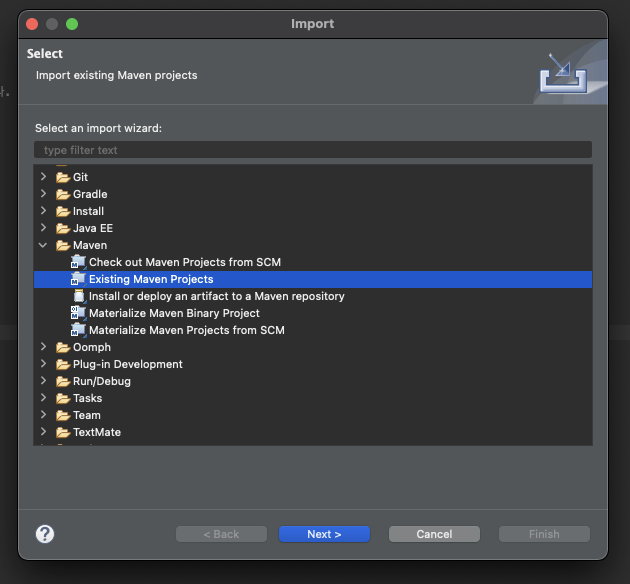
Maven 으로 만들었으니, Maven Projects를 선택하면 되겠네요.
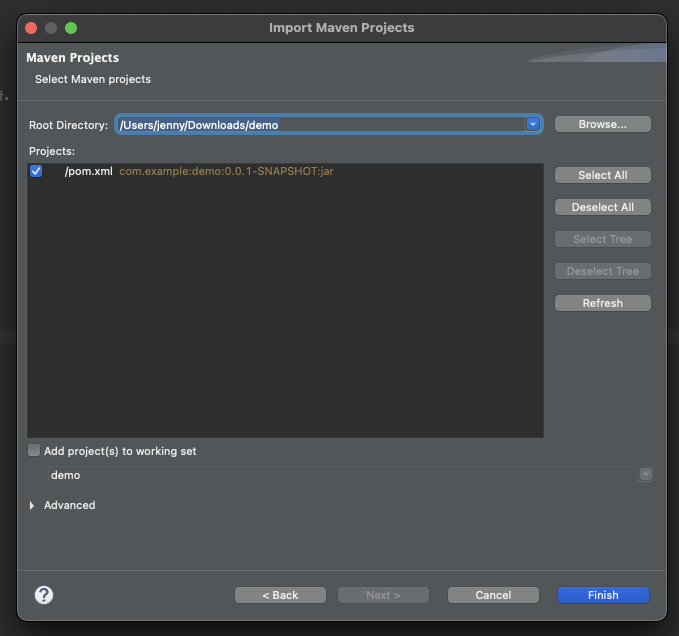
선택하고 finish를 눌렀습니다.
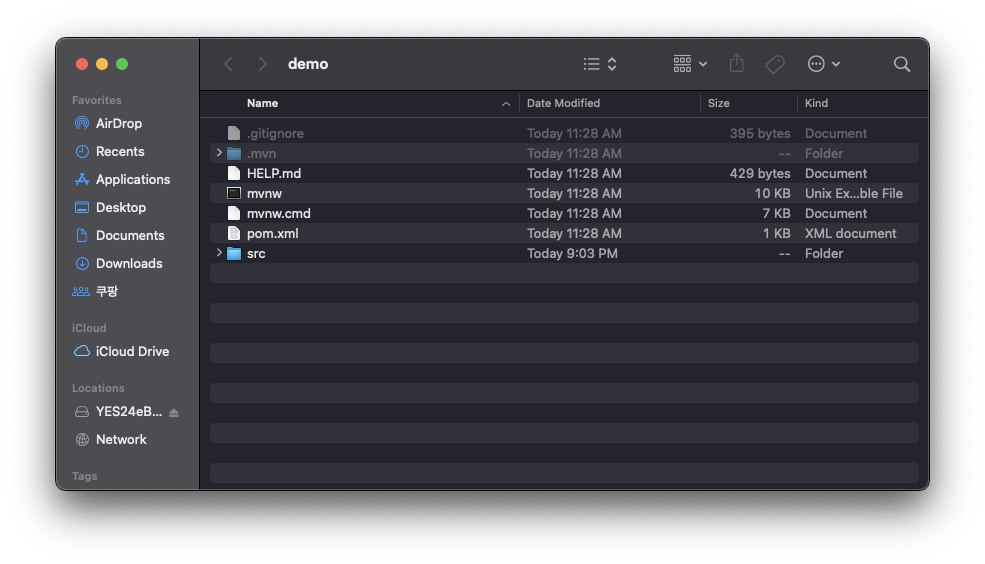
프로젝트가 간단하게 import 되었습니다.
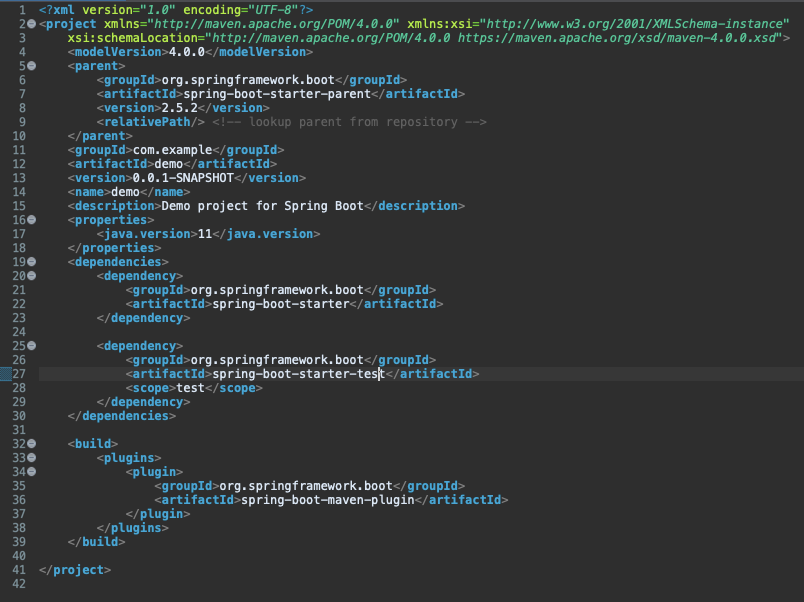
pom.xml을 확인 해 보니 springboot 관련된 dependency가 추가 되어 있습니다.
Dependency Hierarchy를 확인 해 보겠습니다.
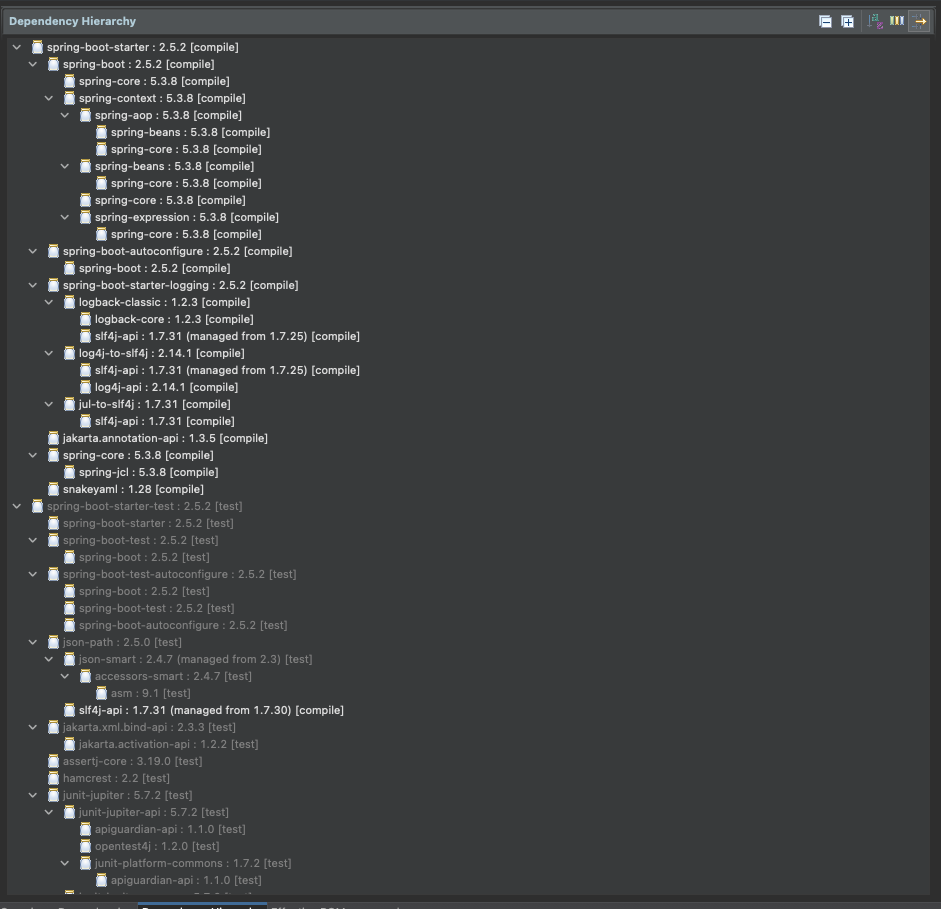
slf4j나 junit 등 을 비롯해서 꽤나 많은 dependency 등이 들어 가 있는 것을 확인 할 수 있습니다.
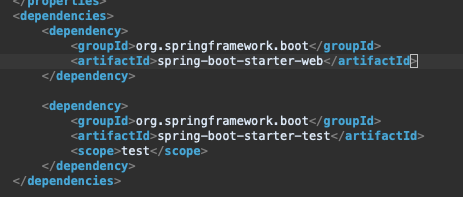
이번엔 spring-boot-starter 라고 써있떤 artifactId를 spring-boot-starter-web 으로 바꿔보았습니다.
조금 빌드하는데 시간이 걸립니다.
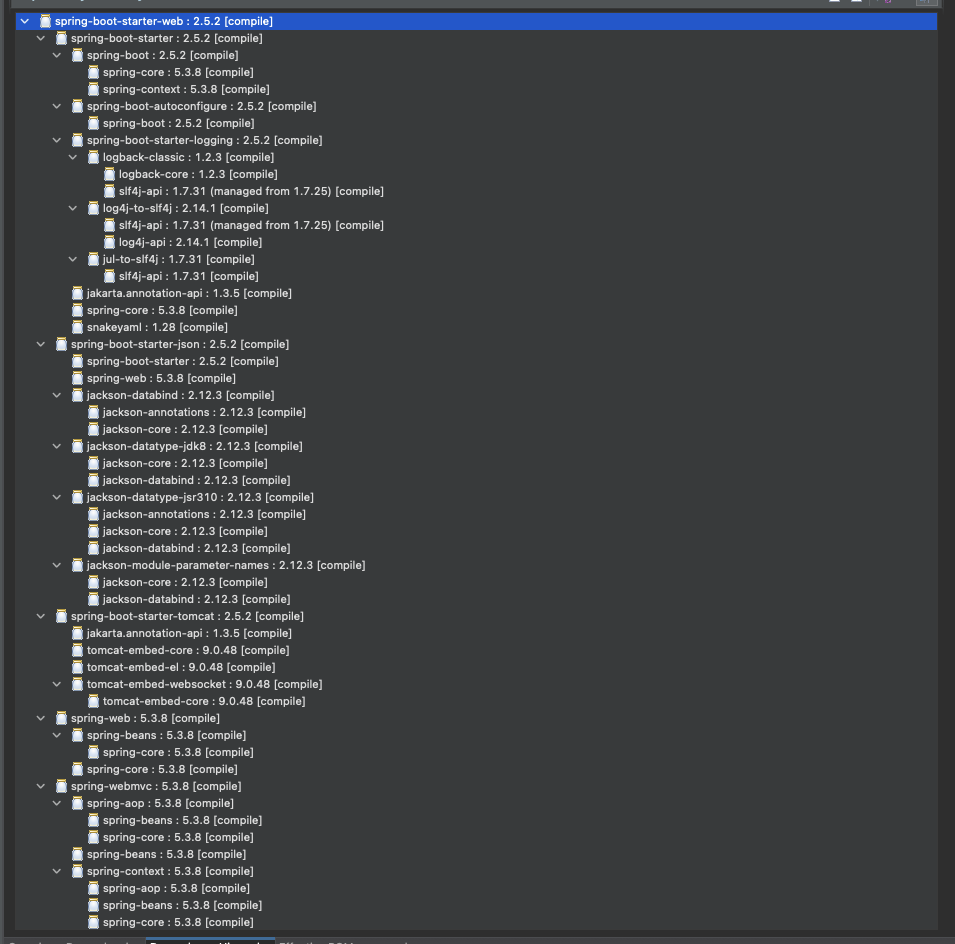
jackson, tomcat, 등등 필요한 라이브러리들이 상당 수 포함 되어 있습니다.

DemoApplication.java 파일도 열어 보았습니다. 특이하게도 @SpringBootApplication 이라는 어노테이션이 붙어 있습니다.
궁금해서 열어보니,
xml
/**
 * Indicates a {@link Configuration configuration} class that declares one or more
 * {@link Bean @Bean} methods and also triggers {@link EnableAutoConfiguration
 * auto-configuration} and {@link ComponentScan component scanning}. This is a convenience
 * annotation that is equivalent to declaring {@code @Configuration},
 * {@code @EnableAutoConfiguration} and {@code @ComponentScan}.
 *
 * @author Phillip Webb
 * @author Stephane Nicoll
 * @author Andy Wilkinson
 * @since 1.2.0
 */
@Target(ElementType.TYPE)
@Retention(RetentionPolicy.RUNTIME)
@Documented
@Inherited
@SpringBootConfiguration
@EnableAutoConfiguration
@ComponentScan(excludeFilters = { @Filter(type = FilterType.CUSTOM, classes = TypeExcludeFilter.class),
        @Filter(type = FilterType.CUSTOM, classes = AutoConfigurationExcludeFilter.class) })
public @interface SpringBootApplication {

    /**
     * Exclude specific auto-configuration classes such that they will never be applied.
     * @return the classes to exclude
     */
    @AliasFor(annotation = EnableAutoConfiguration.class)
    Class<?>[] exclude() default {};

    /**
     * Exclude specific auto-configuration class names such that they will never be
     * applied.
     * @return the class names to exclude
     * @since 1.3.0
     */
    @AliasFor(annotation = EnableAutoConfiguration.class)
    String[] excludeName() default {};

    /**
     * Base packages to scan for annotated components. Use {@link #scanBasePackageClasses}
     * for a type-safe alternative to String-based package names.
     * <p>
     * <strong>Note:</strong> this setting is an alias for
     * {@link ComponentScan @ComponentScan} only. It has no effect on {@code @Entity}
     * scanning or Spring Data {@link Repository} scanning. For those you should add
     * {@link org.springframework.boot.autoconfigure.domain.EntityScan @EntityScan} and
     * {@code @Enable...Repositories} annotations.
     * @return base packages to scan
     * @since 1.3.0
     */
    @AliasFor(annotation = ComponentScan.class, attribute = "basePackages")
    String[] scanBasePackages() default {};

    /**
     * Type-safe alternative to {@link #scanBasePackages} for specifying the packages to
     * scan for annotated components. The package of each class specified will be scanned.
     * <p>
     * Consider creating a special no-op marker class or interface in each package that
     * serves no purpose other than being referenced by this attribute.
     * <p>
     * <strong>Note:</strong> this setting is an alias for
     * {@link ComponentScan @ComponentScan} only. It has no effect on {@code @Entity}
     * scanning or Spring Data {@link Repository} scanning. For those you should add
     * {@link org.springframework.boot.autoconfigure.domain.EntityScan @EntityScan} and
     * {@code @Enable...Repositories} annotations.
     * @return base packages to scan
     * @since 1.3.0
     */
    @AliasFor(annotation = ComponentScan.class, attribute = "basePackageClasses")
    Class<?>[] scanBasePackageClasses() default {};

    /**
     * The {@link BeanNameGenerator} class to be used for naming detected components
     * within the Spring container.
     * <p>
     * The default value of the {@link BeanNameGenerator} interface itself indicates that
     * the scanner used to process this {@code @SpringBootApplication} annotation should
     * use its inherited bean name generator, e.g. the default
     * {@link AnnotationBeanNameGenerator} or any custom instance supplied to the
     * application context at bootstrap time.
     * @return {@link BeanNameGenerator} to use
     * @see SpringApplication#setBeanNameGenerator(BeanNameGenerator)
     * @since 2.3.0
     */
    @AliasFor(annotation = ComponentScan.class, attribute = "nameGenerator")
    Class<? extends BeanNameGenerator> nameGenerator() default BeanNameGenerator.class;

    /**
     * Specify whether {@link Bean @Bean} methods should get proxied in order to enforce
     * bean lifecycle behavior, e.g. to return shared singleton bean instances even in
     * case of direct {@code @Bean} method calls in user code. This feature requires
     * method interception, implemented through a runtime-generated CGLIB subclass which
     * comes with limitations such as the configuration class and its methods not being
     * allowed to declare {@code final}.
     * <p>
     * The default is {@code true}, allowing for 'inter-bean references' within the
     * configuration class as well as for external calls to this configuration's
     * {@code @Bean} methods, e.g. from another configuration class. If this is not needed
     * since each of this particular configuration's {@code @Bean} methods is
     * self-contained and designed as a plain factory method for container use, switch
     * this flag to {@code false} in order to avoid CGLIB subclass processing.
     * <p>
     * Turning off bean method interception effectively processes {@code @Bean} methods
     * individually like when declared on non-{@code @Configuration} classes, a.k.a.
     * "@Bean Lite Mode" (see {@link Bean @Bean's javadoc}). It is therefore behaviorally
     * equivalent to removing the {@code @Configuration} stereotype.
     * @since 2.2
     * @return whether to proxy {@code @Bean} methods
     */
    @AliasFor(annotation = Configuration.class)
    boolean proxyBeanMethods() default true;

}
이러한 내용의 어노테이션 입니다.
해당 어노테이션이 달려있는 클래스가 있는 package를 최 상위 패키지로 인식해 Component scan을 한다고 합니다.
한번 실행을 해 보도록 하겠습니다.

기존의 Spring framework를 사용했을때와 비교해보면, 상상도 할 수 없을 만큼 간단하게 서버를 실행 했습니다.
정말로 서버가 켜진게 맞나 의심이 갈 정도입니다. 그래서, 접속 해 봤습니다.
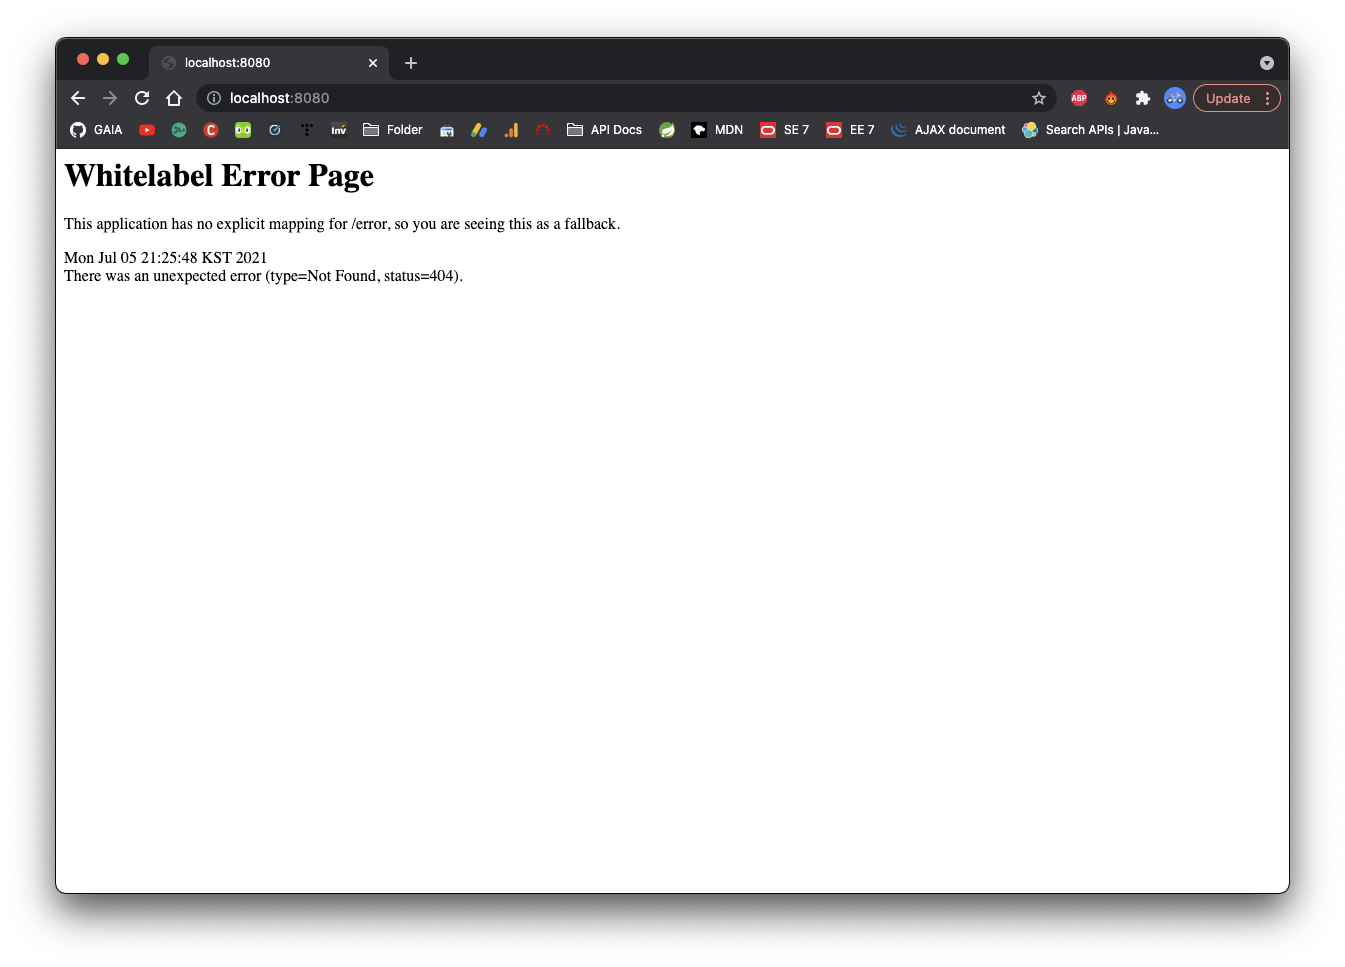
서버가 켜진게 맞긴 맞습니다. 다만 루트 url에 맵핑된 게 없으니 404 에러가 뜹니다.
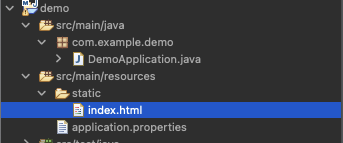
resources/static 경로에 index.html 파일을 만들어봅니다.
xml
<!DOCTYPE html>
<html>
<head>
<meta charset="UTF-8">
<title>Insert title here</title>
</head>
<body>
Hello! Spring boot.
</body>
</html>
이후 서버를 다시 시작하려고 하는데, 이미 서버가 가동중이라서 8080 에러가 나옵니다.

이클립스에서 tomcat 을 사용할때는 서버를 컨트롤 할 수 있는 탭이 따로 있었는데, 서버를 어떻게 꺼야 하나 참 난감하네요.
Activity Monitor에서 메모리 200메가쯤 먹고 있는 java를 하나 찾아서 죽였는데 서버가 여전히 켜있네요. 누굴 죽인거지..?
lsof 로 확인을 해서 pid를 찾았습니다.

범인을 찾아 종료 시켰습니다.
저는 이렇게 힘들게 종료했지만..

여러분은 이 빨간색 네모를 클릭해서 편하게 종료하세요.. embeded 된 서버를 처음 사용 해 보다 보니 고생했습니다.

서버를 다시 실행했습니다.
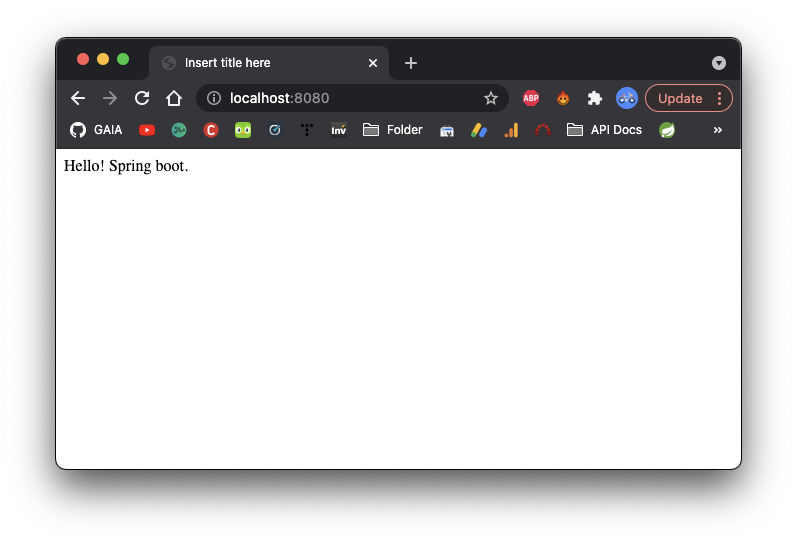
드디어 제가 작성한 index.html 파일을 보여줍니다.
이렇게 간단하게 Spring Boot를 활용해서 간단한 서버를 실행 해 보았습니다.
index 페이지 하나만 띄워 봤는데도, Spring Boot가 기존의 Spring framework에 비해 얼마나 간편한지 확실하게 느낄 수 있었습니다.
'Programming > JPA ⁄ Spring' 카테고리의 다른 글
| Groovy로 Spring boot 어플리케이션 개발해보기. 2) 템플릿 작성하기 (0) | 2021.07.09 |
|---|---|
| Mac) Groovy로 Spring boot 어플리케이션 개발해보기. 1) Hello world (0) | 2021.07.08 |
| MyBatis ) VO(Value Object)객체 만들지 않고 map 으로 쿼리 결과 받아오기 (0) | 2021.06.11 |
| 스프링 websocket 사용시 java.io.IOException: Broken pipe 해결하기. (0) | 2021.06.11 |
| MAXIMUM SESSIONS OF 1 FOR THIS PRINCIPAL EXCEEDED 해결하기 (2) | 2021.06.10 |