Vue.js 사용 하기 2 ) PostgreSQL로 간단 게시판 작성 해보기에 이어지는 글입니다.
이번글에서는 Vue.js 의 기본 Component 중 하나인 Modal 기능을 이용 해 보겠습니다.
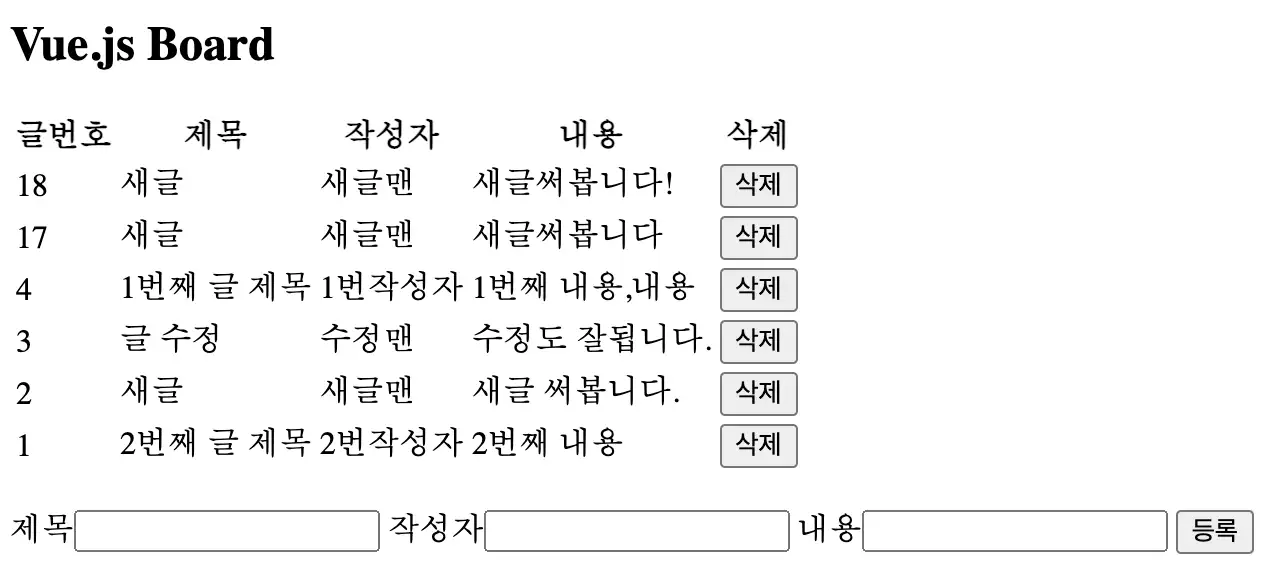
전 글에서 만든 게시판 입니다. 아무리 대충 만들었다고 하지만 글 작성이 같은 페이지에 있으니 보기가 참 불편합니다.
글 작성하는 부분을 Modal로 빼 보도록 하겠습니다.
Vue.js 공식 홈페이지의 Modal 관련한 부분은 https://vuejs.org/v2/examples/modal.html 에 있습니다.
해당 코드를 그대로 사용 해 보도록 하겠습니다.
style.css.modal-mask { position: fixed; z-index: 9998; top: 0; left: 0; width: 100%; height: 100%; background-color: rgba(0, 0, 0, 0.5); display: table; transition: opacity 0.3s ease; } .modal-wrapper { display: table-cell; vertical-align: middle; } .modal-container { width: 300px; margin: 0px auto; padding: 20px 30px; background-color: #fff; border-radius: 2px; box-shadow: 0 2px 8px rgba(0, 0, 0, 0.33); transition: all 0.3s ease; font-family: Helvetica, Arial, sans-serif; } .modal-header h3 { margin-top: 0; color: #42b983; } .modal-body { margin: 20px 0; } .modal-default-button { float: right; } /* * The following styles are auto-applied to elements with * transition="modal" when their visibility is toggled * by Vue.js. * * You can easily play with the modal transition by editing * these styles. */ .modal-enter { opacity: 0; } .modal-leave-active { opacity: 0; } .modal-enter .modal-container, .modal-leave-active .modal-container { -webkit-transform: scale(1.1); transform: scale(1.1); }
첫번째로 modal을 사용하기 위한 css를 등록합니다. 사실상 modal의 핵심은 css라고 생각합니다.
이제 <head> 부분에
html<link rel="stylesheet" type="text/css" href="/style.css" /> <title>title</title> <script type="text/x-template" id="modal-template"> <transition name="modal"> <div class="modal-mask"> <div class="modal-wrapper"> <div class="modal-container"> <div class="modal-header"> <slot name="header"> default header </slot> </div> <div class="modal-body"> <slot name="body"> default body </slot> </div> <div class="modal-footer"> <slot name="footer"> default footer <button class="modal-default-button" @click="$emit('close')"> OK </button> </slot> </div> </div> </div> </div> </transition> </script>
방금 등록한 style.css 파일도 불러오도록 하고, modal template으로 쓸 요소를 등록 해 줍니다.
이제는 모달을 여는 버튼과, 모달이 들어갈 적당한 자리를 찾아 요소를 넣어줍니다. 어차피 평소에는 눈에 보이지 않기 떄문에 위치가 엄청 중요하지는 않습니다.
html<button id="show-modal" @click="showModal = true">Show Modal</button> <!-- use the modal component, pass in the prop --> <modal v-if="showModal" @close="showModal = false"> <!-- you can use custom content here to overwrite default content --> <h3 slot="header">custom header</h3> </modal>
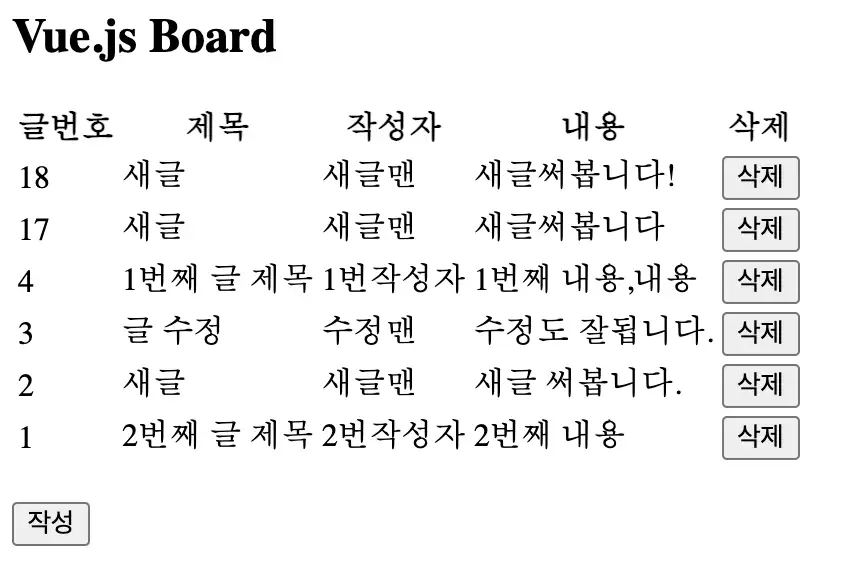
그렇게 기존의 복잡했던 글 작성 form을 modal로 빼낼 준비를 했습니다. 지금 상태에서 작성 버튼을 클릭하면,
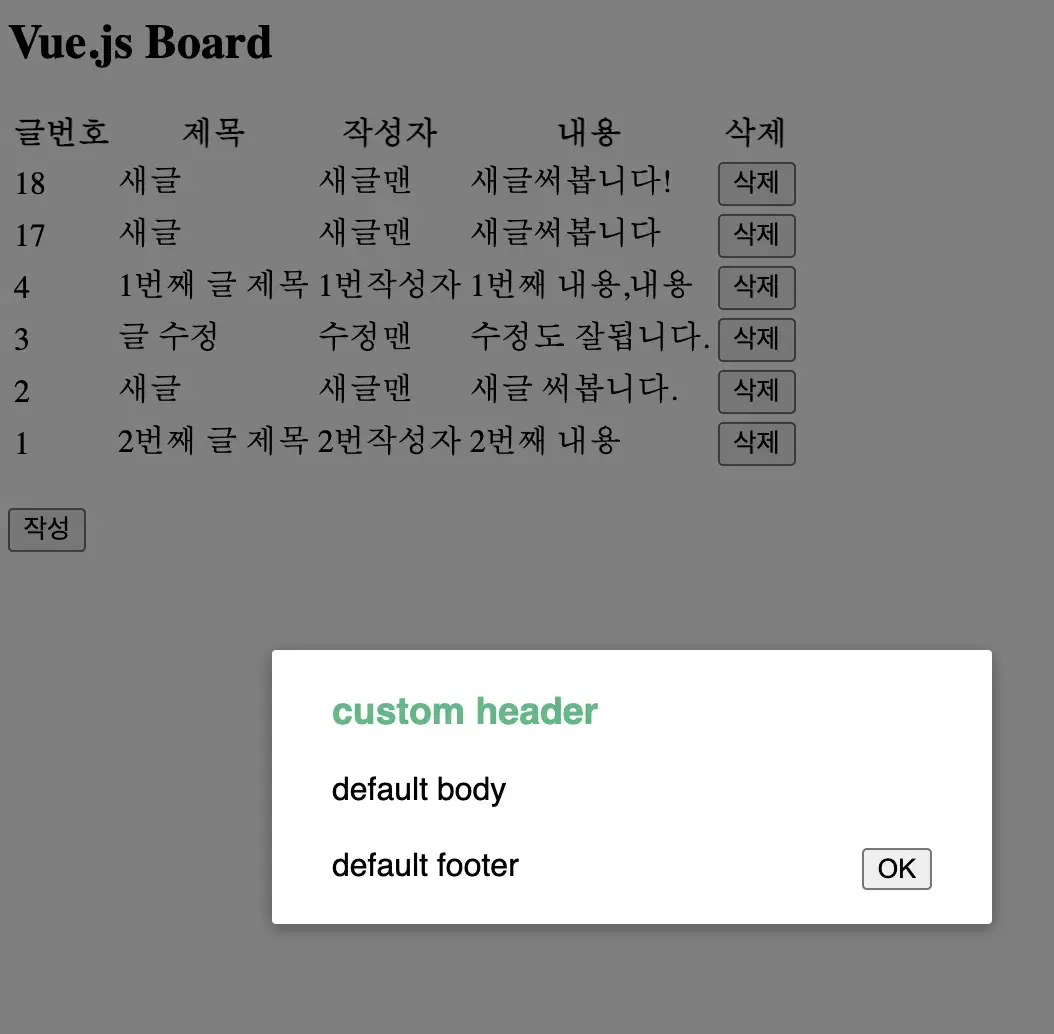
기본 template으로 설정해 둔 modal 이 뜨는 것이 확인 됩니다. 모든 준비가 끝났네요.
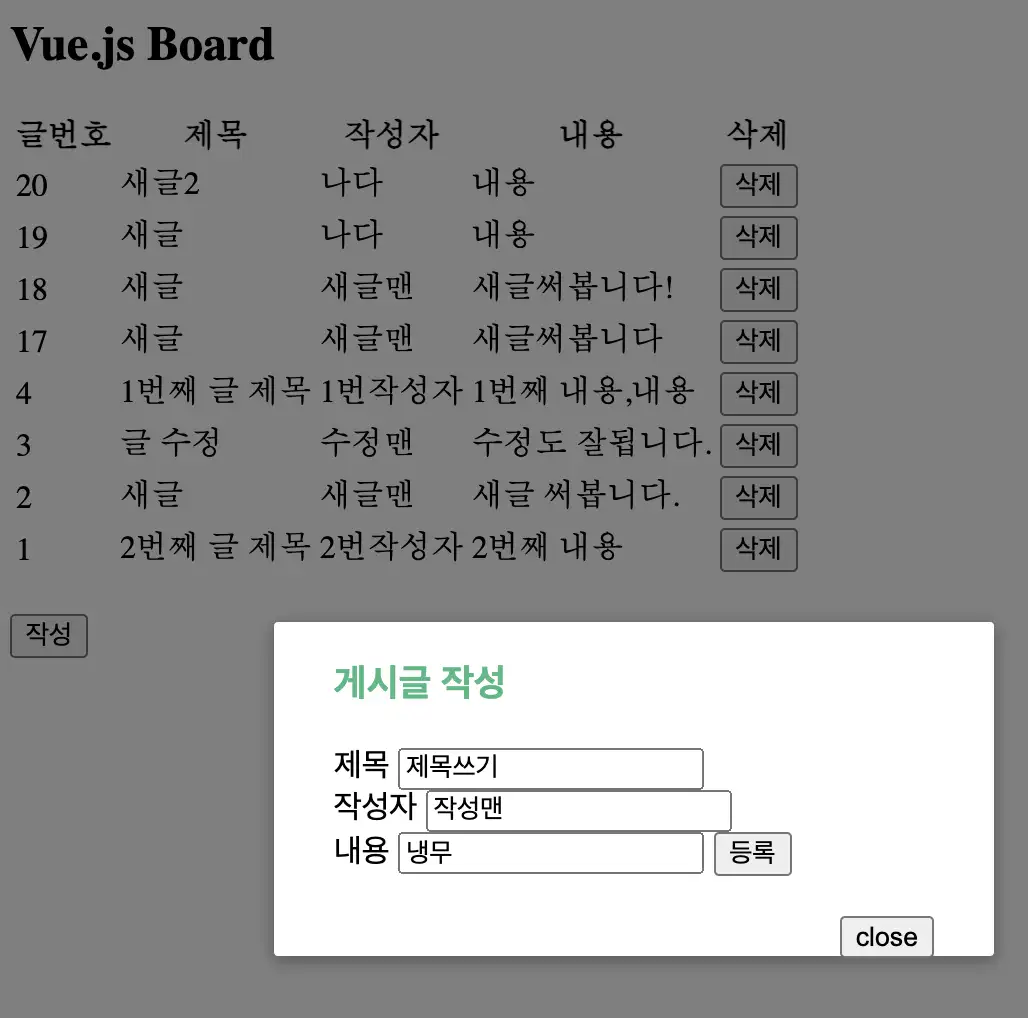
새로 만들어본 글 작성 modal 입니다. 물론 css를 바꿔주지 않아 투박하긴 하지만, 처음에 같은 페이지에 있었던 것 보다는 훨씬 낫습니다. 글 작성 내용을 입력하고 등록을 누르면 글이 등록되며, board.load() 호출과 함께 Vue 바인딩에 의해 데이터가 깜빡임 없이 갱신됩니다. 모달을 닫는 것도 showModal 변수를 false로만 넣어주면 간단하게 닫을 수 있습니다.
변경한 전체 코드 한번 보겠습니다.
vueBoard.html<html> <head> <meta charset="UTF-8"> <script src="https://cdn.jsdelivr.net/npm/vue@2/dist/vue.js"></script> <script src="https://ajax.googleapis.com/ajax/libs/jquery/3.5.1/jquery.min.js"></script> <link rel="stylesheet" type="text/css" href="/style.css" /> <title>title</title> <script type="text/x-template" id="modal-template"> <transition name="modal"> <div class="modal-mask"> <div class="modal-wrapper"> <div class="modal-container"> <div class="modal-header"> <slot name="header"> default header </slot> </div> <div class="modal-body"> <slot name="body"> default body </slot> </div> <div class="modal-footer"> <slot name="footer"> <button class="modal-default-button" @click="$emit('close')"> close </button> </slot> </div> </div> </div> </div> </transition> </script> </head> <body> <h2>Vue.js Board</h2> <table id="board"> <thead> <th>글번호</th> <th>제목</th> <th>작성자</th> <th>내용</th> <th>삭제</th> </thead> <tr v-if="!boardlist"> <td>게시글이 없습니다.</td> </tr> <tr v-for="board in boardlist"> <td v-text="board.boardno"></td> <td v-text="board.title"></td> <td v-text="board.writer"></td> <td v-text="board.content"></td> <td><button v-on:click="remove(board.boardno)">삭제</button></td> </tr> </table> <br/> <div id="regform"> <button id="show-modal" @click="showModal = true">작성</button> <!-- use the modal component, pass in the prop --> <modal v-if="showModal" @close="showModal = false"> <h3 slot="header">게시글 작성</h3> <div slot="body"> <form v-on:submit.prevent="create"> <label>제목 <input type="text" name="title" v-model="title"> </label><br/> <label>작성자 <input type="text" name="writer" v-model="writer"> </label><br/> <label>내용 <input type="text" name="content" v-model="content"> </label> <button>등록</button> </form> </div> </modal> </div> <script> Vue.component("modal", { template: "#modal-template" }); let regform = new Vue({ el:'#regform', data : { title:'' ,writer:'' ,content:'' ,showModal: false }, methods:{ create: function(){ $.ajax({ url : '/restapi/board' ,data : { title : regform.title ,writer : regform.writer ,content : regform.content } ,method : 'POST' }).done(function(data){ regform.title = ''; regform.writer = ''; regform.content = ''; regform.showModal = false; board.load(); }) } } }) let board = new Vue({ el: '#board', data: { boardlist : [] }, mounted : function(){ this.load() } , methods:{ load : function(){ $.ajax({ url : '/restapi/board' }).done(function(data){ board.boardlist = data.payload; }) }, remove : function(boardno){ $.ajax({ url : '/restapi/board' ,method : 'post' ,data : { boardno : boardno ,_method : 'delete' } }).done(function(data){ board.load(); }) } } }) </script> </body> </html>
이전 글에서 사용한 코드가 크게 다를 게 없기 때문에 쉽게 이해 할 수 있습니다.
BootStrap Modal을 사용하는게 더 쉽긴 하겠지만 Vue.js 를 이용해서 Modal을 한번 구현 해 보았습니다.
다음번 글에서 모달을 이용해 글 수정 까지 한다면 일단 간단한 CRUD 게시판은 완성이 되겠습니다 !
해당 프로젝트의 코드는 https://github.com/Shane-Park/markdownBlog/tree/master/projects/vuejs 에서 모두 확인 하실 수 있습니다. 수고하셨습니다.
이어지는 글
Vue.js 사용 하기 4 ) PostgreSQL로 간단 게시판 작성 해보기 - 조회 및 수정 기능 추가
'Programming > javascrlpt' 카테고리의 다른 글
| Vue.js 사용 하기 4 ) PostgreSQL로 간단 게시판 작성 해보기 - 조회 및 수정 기능 추가 (0) | 2021.08.28 |
|---|---|
| Javascript로 페이지 리다이렉트 하는 방법. location.href vs location.replace (0) | 2021.08.20 |
| Vue.js 사용 하기 2 ) PostgreSQL로 간단 게시판 작성 해보기 (0) | 2021.08.17 |
| Vue.js 사용 하기 1 ) 기본 문법 (0) | 2021.08.16 |
| Javascript) 웹사이트 혹은 웹 어플리케이션에 단축키 추가하기 (1) | 2021.07.04 |