반응형
<!-- jquery-contextmenu -->
<link rel="stylesheet" href="https://cdnjs.cloudflare.com/ajax/libs/jquery-contextmenu/2.9.2/jquery.contextMenu.css" integrity="sha512-EF5k2tHv4ShZB7zESroCVlbLaZq2n8t1i8mr32tgX0cyoHc3GfxuP7IoT8w/pD+vyoq7ye//qkFEqQao7Ofrag==" crossorigin="anonymous" referrerpolicy="no-referrer" />
<!-- jquery -->
<script src="https://ajax.googleapis.com/ajax/libs/jquery/3.6.0/jquery.min.js"></script>
<script src="https://cdnjs.cloudflare.com/ajax/libs/jquery-contextmenu/2.9.2/jquery.contextMenu.js" integrity="sha512-2ABKLSEpFs5+UK1Ol+CgAVuqwBCHBA0Im0w4oRCflK/n8PUVbSv5IY7WrKIxMynss9EKLVOn1HZ8U/H2ckimWg==" crossorigin="anonymous" referrerpolicy="no-referrer"></script>
<script src="https://cdnjs.cloudflare.com/ajax/libs/jquery-contextmenu/2.9.2/jquery.ui.position.js" integrity="sha512-vBR2rismjmjzdH54bB2Gx+xSe/17U0iHpJ1gkyucuqlTeq+Q8zwL8aJDIfhQtnWMVbEKMzF00pmFjc9IPjzR7w==" crossorigin="anonymous" referrerpolicy="no-referrer"></script>
위에 보이는 css 와 js 들이 필요합니다.
우클릭 할 영역을 만들어 줍니다.
<span class="context-menu-one btn btn-neutral">right click me</span>Copy<script> 영역에 초기 설정 코드를 넣어줍니다.
$(function(){
$.contextMenu({
selector: '.context-menu-one',
items: {
// <input type="text">
name: {
name: "Text",
type: 'text',
value: "Hello World",
events: {
keyup: function(e) {
// add some fancy key handling here?
window.console && console.log('key: '+ e.keyCode);
}
}
},
sep1: "---------",
// <input type="checkbox">
yesno: {
name: "Boolean",
type: 'checkbox',
selected: true
},
sep2: "---------",
// <input type="radio">
radio1: {
name: "Radio1",
type: 'radio',
radio: 'radio',
value: '1'
},
radio2: {
name: "Radio2",
type: 'radio',
radio: 'radio',
value: '2',
selected: true
},
radio3: {
name: "Radio3",
type: 'radio',
radio: 'radio',
value: '3'
},
radio4: {
name: "Radio3",
type: 'radio',
radio: 'radio',
value: '4',
disabled: true
},
sep3: "---------",
// <select>
select: {
name: "Select",
type: 'select',
options: {1: 'one', 2: 'two', 3: 'three'},
selected: 2
},
// <textarea>
area1: {
name: "Textarea with height",
type: 'textarea',
value: "Hello World",
height: 40
},
area2: {
name: "Textarea",
type: 'textarea',
value: "Hello World"
},
sep4: "---------",
key: {
name: "Something Clickable",
callback: $.noop
}
},
events: {
show: function(opt) {
// this is the trigger element
var $this = this;
// import states from data store
$.contextMenu.setInputValues(opt, $this.data());
// this basically fills the input commands from an object
// like {name: "foo", yesno: true, radio: "3", …}
},
hide: function(opt) {
// this is the trigger element
var $this = this;
// export states to data store
$.contextMenu.getInputValues(opt, $this.data());
// this basically dumps the input commands' values to an object
// like {name: "foo", yesno: true, radio: "3", …}
}
}
});
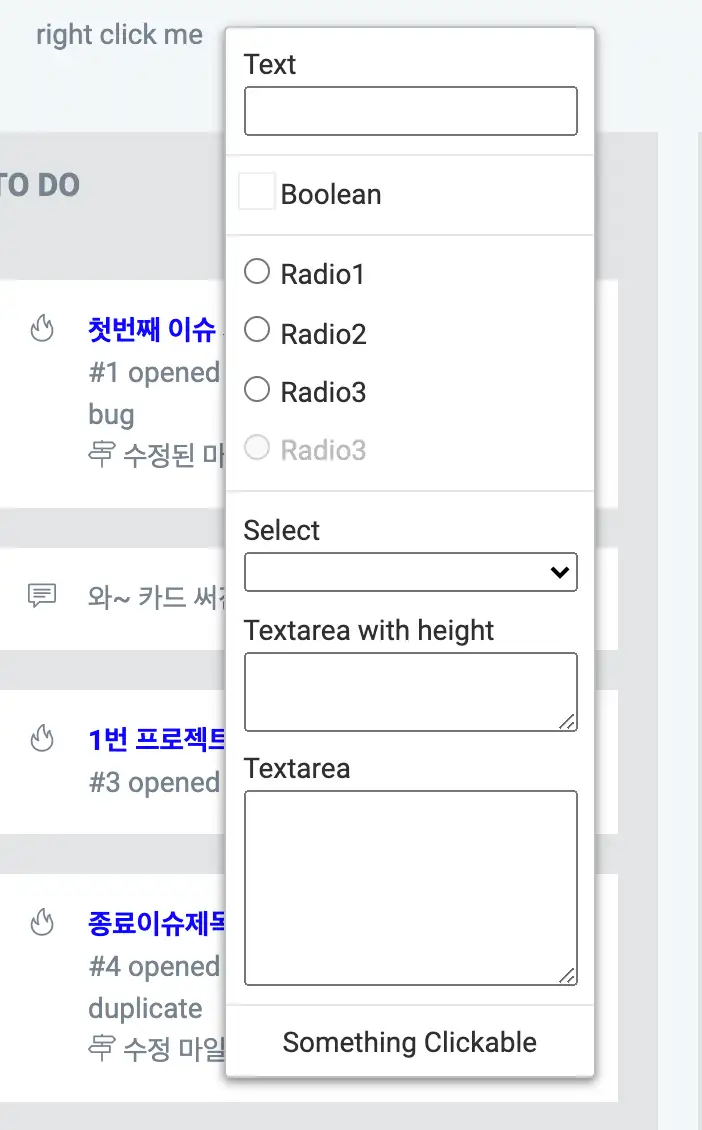
}); 이제 riht click me 라는 span 태그를 우클릭 해봅니다.
$.contextMenu 에서 item 으로 등록된 요소들이 버튼으로 나옵니다.
예제 코드를 조금씩 수정해서 필요한 버튼을 만들어서 사용하면 되겠습니다.
예를 들면 저는 items 부분을
                items: {
                    editCard: {
                        name: "카드 수정",
                        callback: function(key, opt){
                            alert("Clicked on " + key);
                        }
                    },deleteCard: {
                        name: "카드 삭제",
                        callback: function(key, opt){
                            alert("Clicked on " + key);
                        }
                    }
                },
요렇게 해서 사용하면,
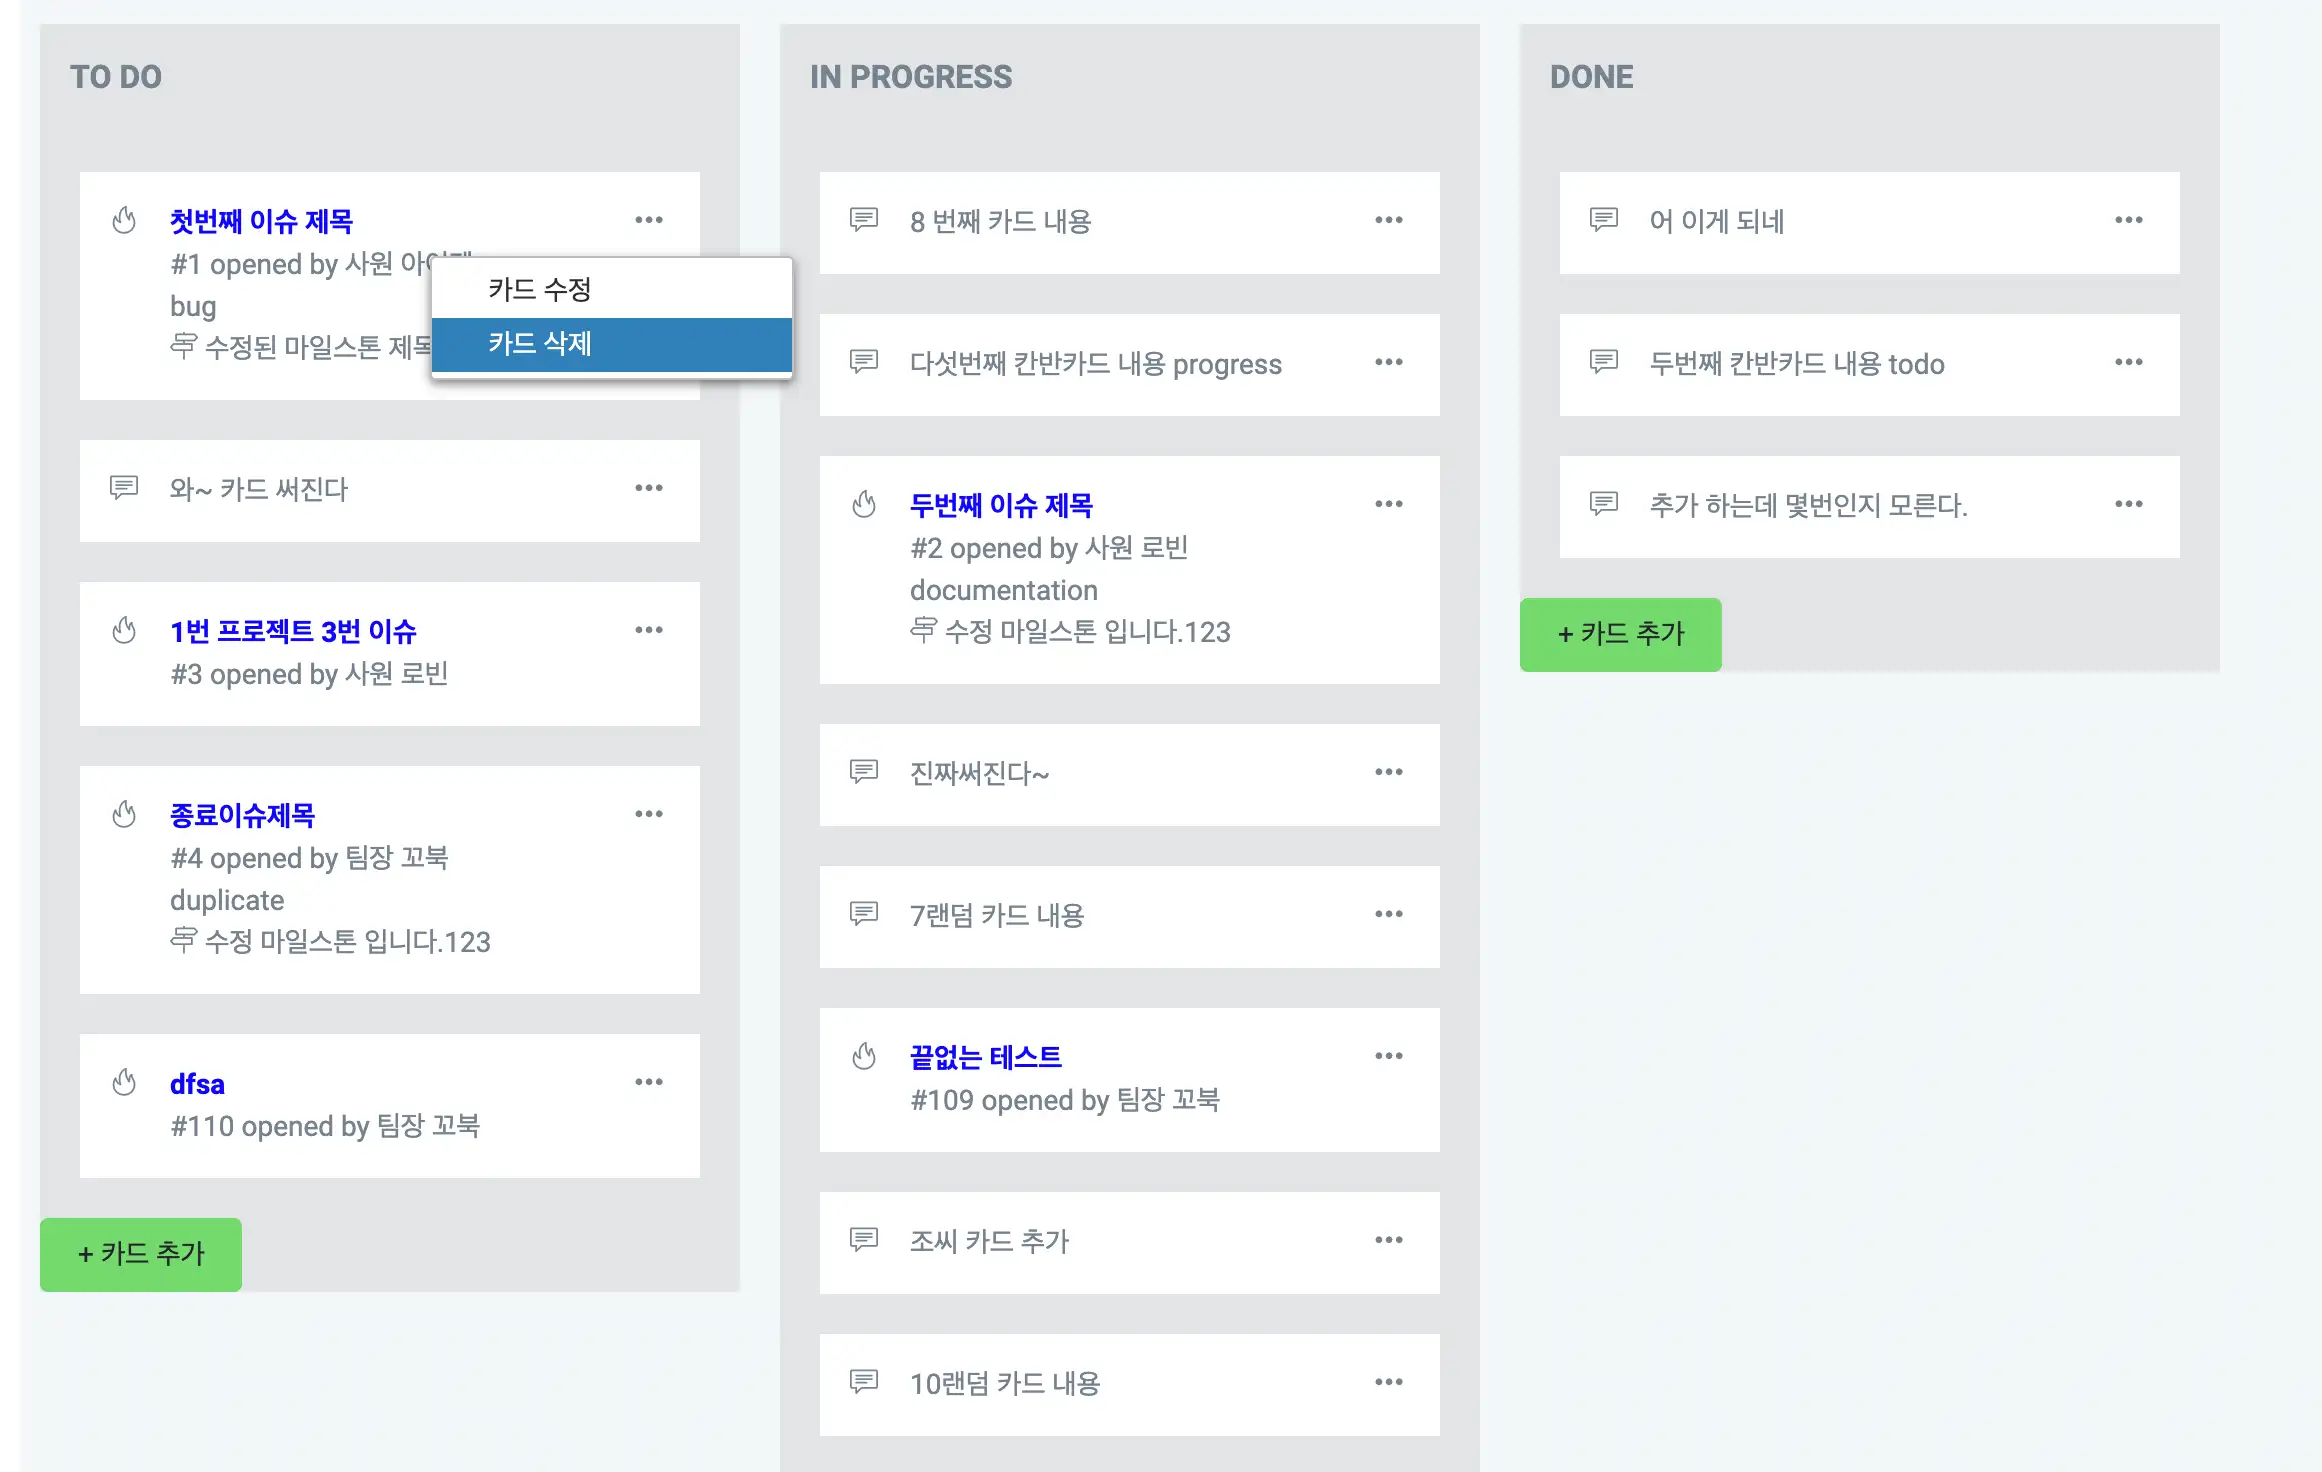
제가 필요한 버튼들만 나오게 해서 사용 할 수 있습니다.
코드 출처 : https://swisnl.github.io/jQuery-contextMenu/demo/input.html
반응형
'Programming > javascrlpt' 카테고리의 다른 글
| 자바스크립트) 한글 마지막 글자에 따라 로/으로, 을/를 어울리게 출력해주기 (0) | 2021.06.18 |
|---|---|
| btoa 혹은 atob 사용해 BASE64 <-> UTF-8 인코딩 할때 한글 깨짐 해결 (0) | 2021.06.11 |
| 이제 alert 대신 toastr 사용하자 ! Toastr 사용 하기 (3) | 2021.06.04 |
| TOAST UI Editor 사용법 ( 마크다운 에디터 Markdown Editor) (0) | 2021.06.01 |
| JavaScript 드래그 할 수 있는 HTML 요소 만들기 (0) | 2021.05.23 |